
Organizing Printed Photographs
Tonja Denny • May 22, 2020
An Approach to Organizing Old Printed Photographs
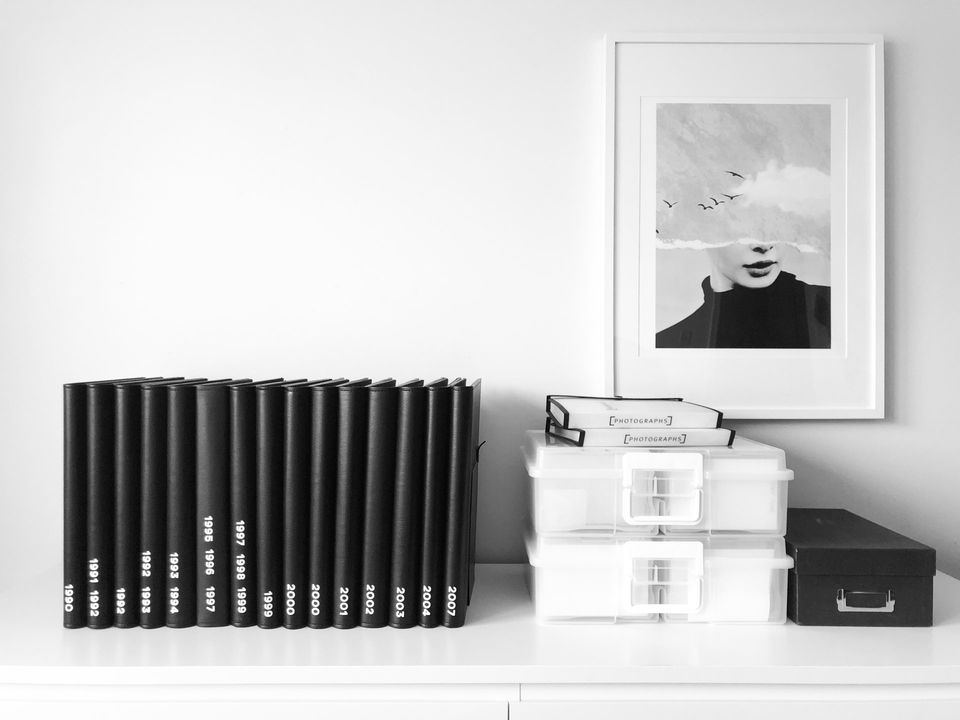
Photo by Tonja Denny | MONMO 2020
Most people have a collection of family photos printed from film. If you're lucky, they're lined in an eclectic collection of albums, but maybe yours are still in the envelopes or stacked haphazardly inside boxes in a closet. Whether they're your personal photos or they're photos from your childhood tucked away somewhere in your parent's house, you may think about them sometimes and wish they were more easily accessible, put out on display where you could enjoy them periodically.
That's how it was for me. My parents eventually both left our childhood home and all of our photos came to live in boxes in storage in the house my husband and I now share with my mom. My mom and I live on the East Coast, my brother and dad live in the Midwest, my sister lives on the West Coast, and all of our photos were here with me, in boxes, under the stairs where no one can see them. I thought about them sometimes, and once I started having my own children and my brother and sister did too, that really got me going. Things came up that got me itching to get them out: "Who does my son take after?" "I wish I could show [my daughter] the photos of when we got baby ducks and dug a pond for them!" "There's photos somewhere of that trip to Washington... I wonder what year that was."
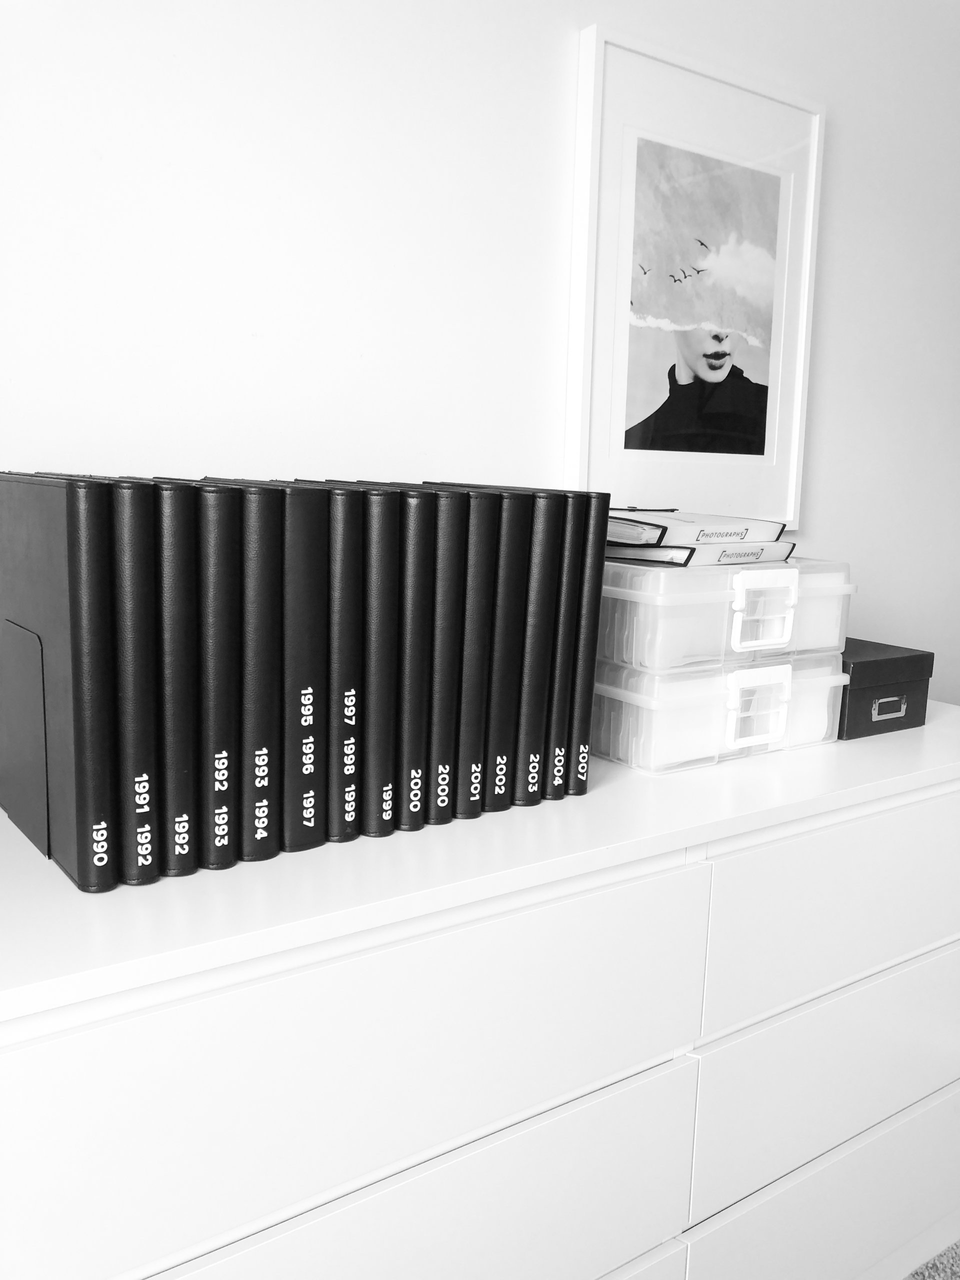
I decided to dig them out, set up and get them organized. I want them digitized eventually so we could enjoy them across the country. But this was the starting point. One bite at a time. Pictured above is the final product: Photos organized chronologically into streamlined albums my mother already owned, extra photos and notes in the photo organizers sorted and labeled by year, special projects in the two small white albums (Building the Barn and Renovating the House), and all the negatives in the black box.
Here's how I ultimately organized them.
**If you're organized and you want to digitize your photos, a post is coming for that process soon.
Supplies needed for maximum effect (affiliate links in blue):
•Table or desk you can take over for weeks or potentially months
•Notecards: To write years and take notes on to stay organized.
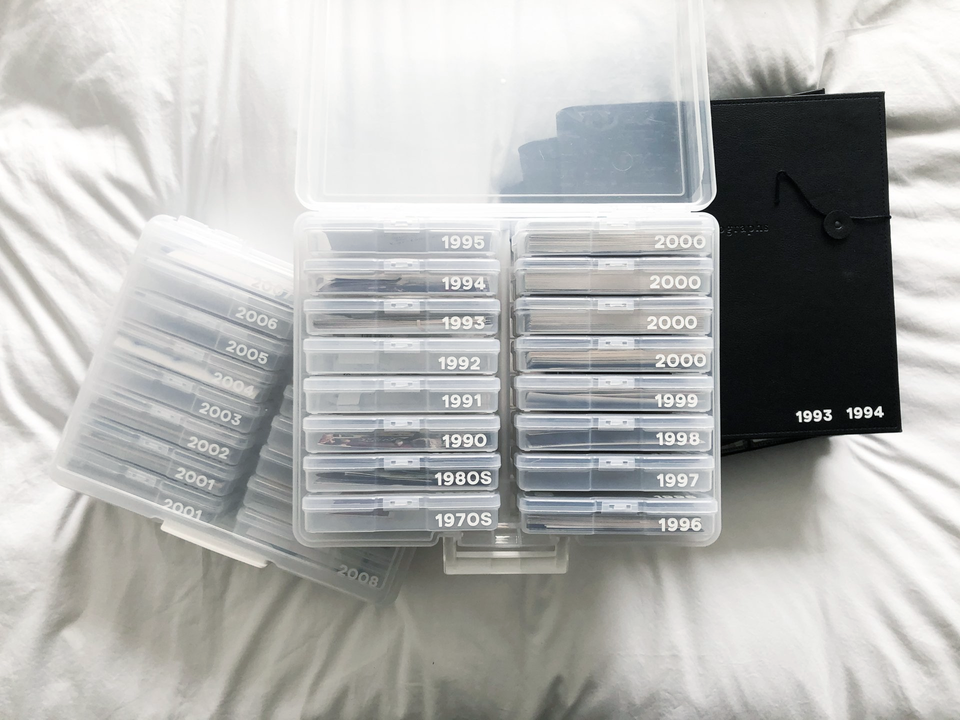
•Photo Organizers: I got
these
from Amazon. Michael's carries similar ones.
•Matching Albums: My mom purchased those albums pictured above 15-20 years ago and they no longer exist. I highly recommend black for the timelessness of them and it's the most likely to hold its color. White is timeless too, but I've had some white albums yellow over time. Here is an acid-free option I found with decent reviews: ~13x13" album, choices for 500, 600 or 1000 4x6" photos, vertical and horizontal
here.
•Labels: I cut labels using my Silhouette Machine and Oracle Vinyl, but a good DYMO Labeler like
this classic one
would work, or a fun embossing labeler like this if they'll stick to the material of your albums.
•Nice Box: This is for if you want to save negatives. You could otherwise store negatives in the Photo Organizer listed above.
Here
is a box option similar to the one I used. Again, black is best for color quality and timelessness, in my opinion.
Here's where is gets fun... or whatever. I get that this project can be insanely overwhelming, but let's take it in bite-sized pieces and remember that any amount of photos that get organized is AWESOME. If you get your photos sorted a bit and they get put back in a labeled box or the organizer above, THEY'RE SORTED. It'll be so much easier to find something if you go looking later. If it's one album that gets completed, congratulations! YOU COMPLETED AN ALBUM and you can enjoy it!
That being said, let us get started. I'm going to list the steps first, then go through the steps a second time with a bit more detail and photos.
Step 1: Set up your space and turn on a podcast.
Step 2: Set up notecards for each year.
Step 3: Organize your photos into stacks by year to each corresponding notecard.
Step 4: Sort each year chronologically.
Step 5: Place the years' photos into albums and/or organizers, as you please.
Step 6: Label each album and organizer cases with the year(s) they contain.
Step 7: Enjoy! (And share this with a friend!)
Here we go for a deeper look at each step:
Step 1:
Make a separate space for this project where your progress won't be destroyed. It's a lengthy process and if the kids crash into it, you may cry. I set up a folding table in my room and made it off-limits for kids, working early morning, nap times or before bed. Turn on a podcast or audio book because you can with this type of project. Yahoo!
Step 2: Write each year down on separate notecards and line the cards chronologically into rows on your table, leaving enough room above each card for the stack of photos for that year. Take notes on these cards as need be and keep with your photos until you finish to stay organized.
**NOTE: If you'd like to separate a collection of photos into its own album for a specific event or project, make a notecard for those separately (i.e. "Wedding," "Honeymoon," "Building our House") and sort those photos accordingly.
Step 3:
Start into your photos. Grab an unorganized stack and sort them by year, stacking them by each corresponding notecard.

**NOTE: If you aren't sure of a date or need to ask someone about a photo, set it aside in a designated spot and keep going. Send off pictures via text of any photos in question or make a FaceTime call to Mom or Grandma later to go through an accumulated stack. This can be fun to bond over! And if you don't find an answer, then make an estimate. Honestly it probably doesn't matter exactly anyway. If you're particular like me, you may have a hard time with that but let's get this project done, shall we? Moving on.
Step 4:
Go through each year's stack one at a time and sort the photos chronologically. I set up space for 12 months, sorted by month, then shuffled the month into the correct order and stacked January on top, down to December (again, estimate photo dates if you need to; it's fine).
Step 5:
Place that year into a photo album and/or organizer case. I personally put all of our photos into albums. Then I placed duplicates, a couple extra school photos, index prints/contact sheets, Christmas family photos and baby/wedding/graduation announcements, and any notes into the photo organizers for that year.

**NOTE: Depending on the situation with your negatives, you can place these into the organizers by year as well. I chose to place all the negatives into a separate black photo storage box. If I need to retrieve any specific negatives someday, I may organize them at that time. I felt that chance was slim for us.

Step 6:
As you go along, label each album and organizer cases with the year(s) they contain. I worked chronologically through the albums so some albums contained multiple years, but I gave each year at least one photo case in the organizers.

Step 7:
Step back and enjoy the tar out of all your time and effort. Display somewhere where your albums will be enjoyed in the years to come and share this with a friend so they can take part in this awesomeness, too!

If you have any questions, comment below, send me an email at hello@shopmonmo.com, or fill out a contact form. Thanks for reading!
-Tonja